

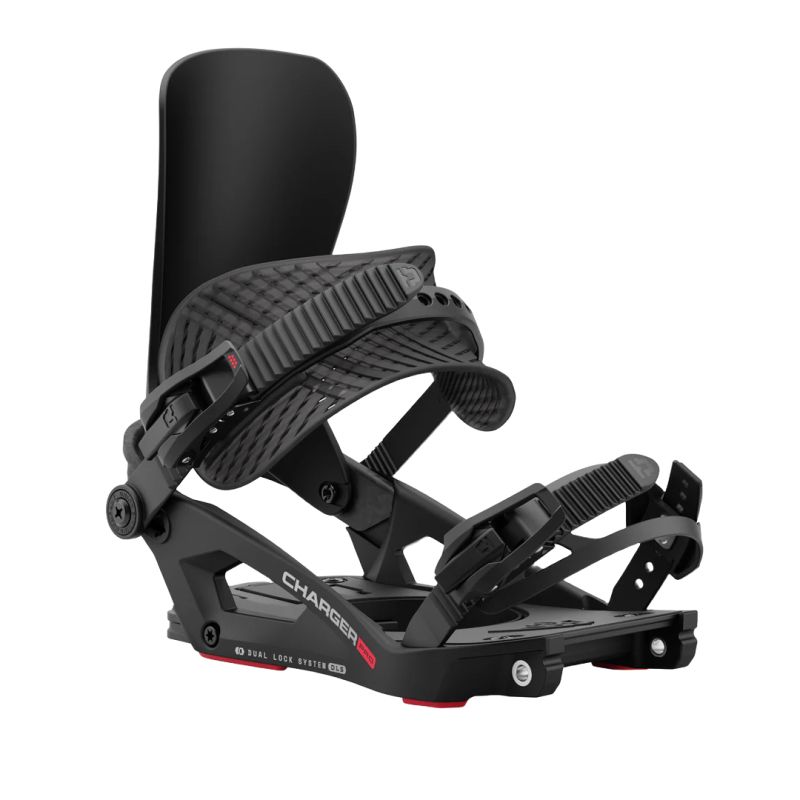
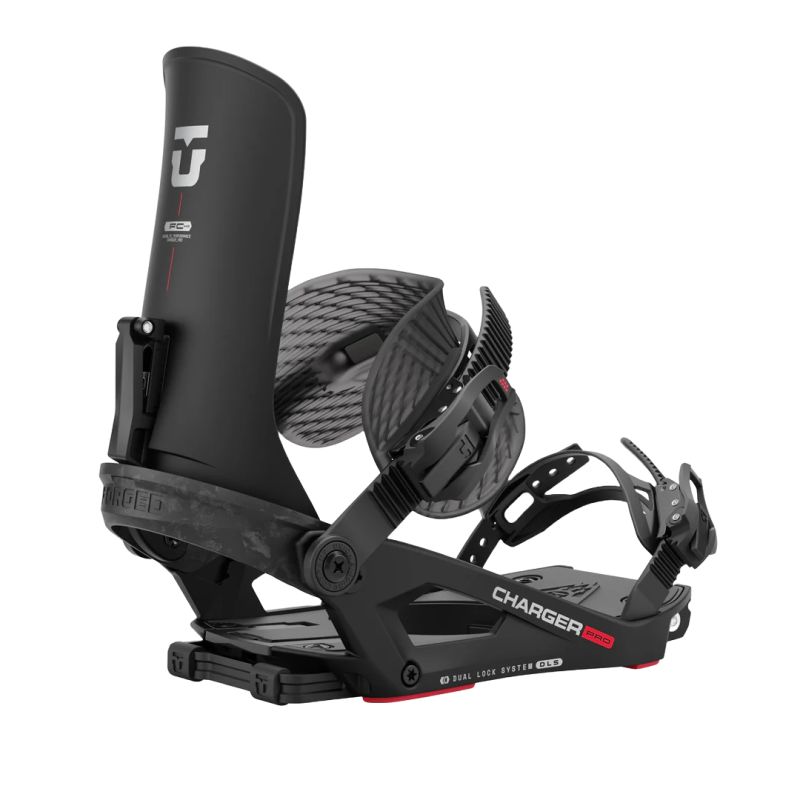
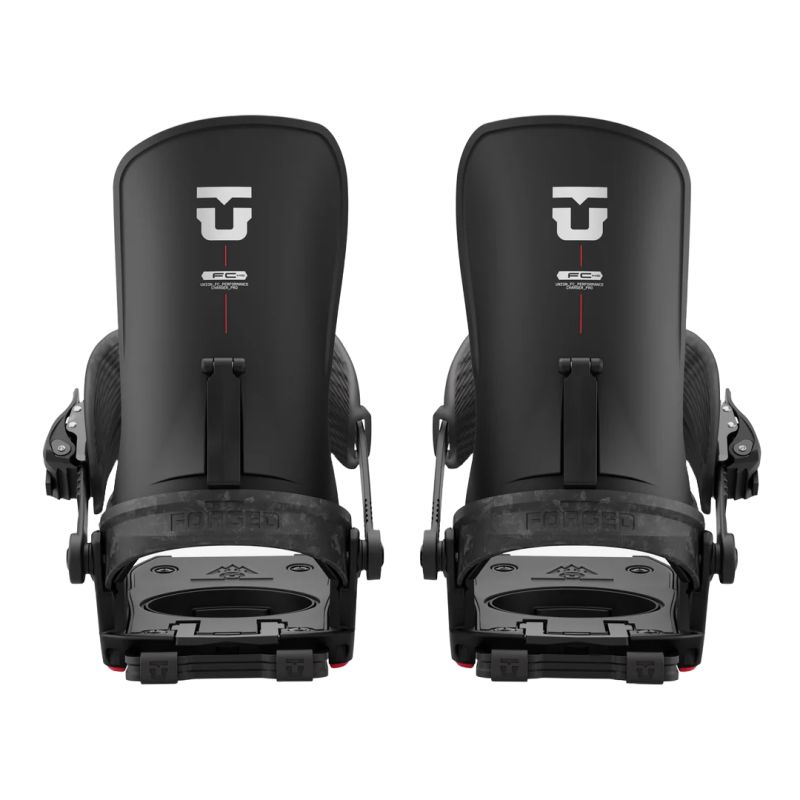
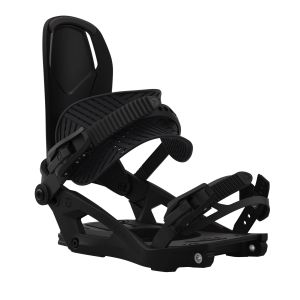
UNION Charger Pro Bindings
Quick, easy transitions at the touch of a lever. The Union Charger Pro splitboard binding is the ultimate binding for splitboarders and snowboarders worldwide.

UNION Charger Pro Bindings
The ultimate splitboard binding. The Union Charger Pro combines a perfect blend of stiffness for climbing and flexibility for descending. Tested, reliable and designed with the help of professional splitboarder Forrest Shearer.
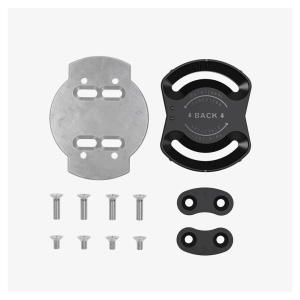
Includes: Mounting hardware, Charger disc with magnesium adapter plates, touring brackets and splitboard strap. 
Instructions for use
.jpeg)
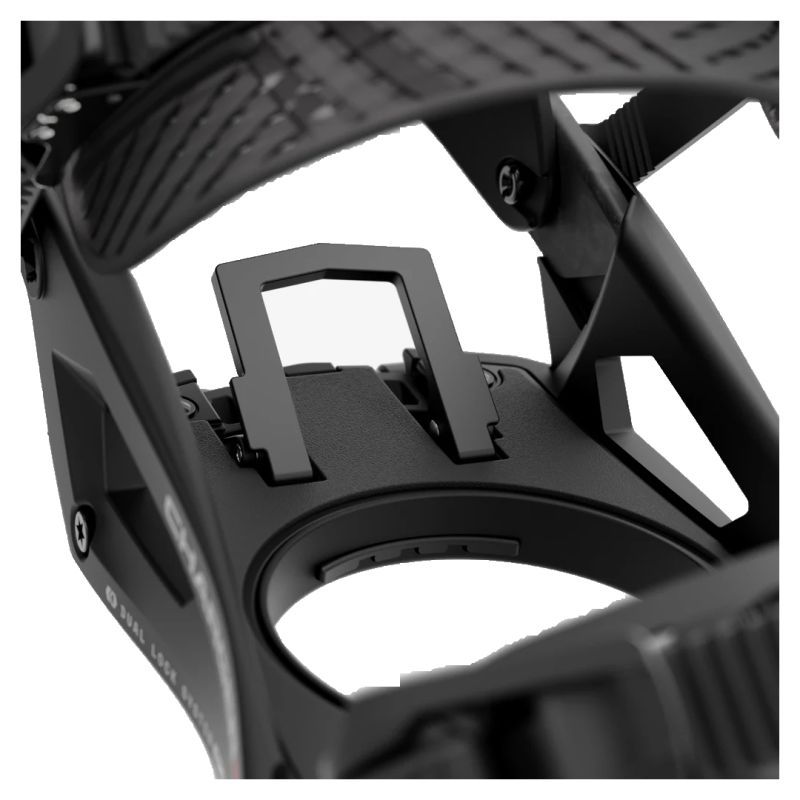
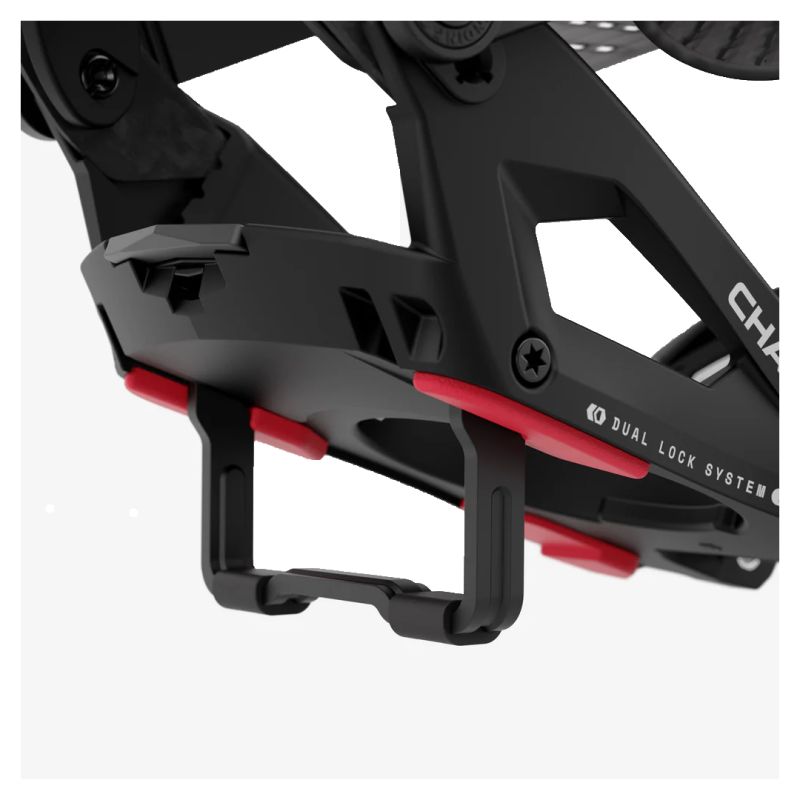
Split Disc Charger
With zero space for a pin in the center of the disc, the Charger split-disc connection is now stronger than ever. A small notch in the rear disc allows Charger's easy-to-use lever to lock you in place.
.jpeg)
Step 1
Pull the lever up into the rear baseplate and position the baseplate on the disc at a 90* angle, the lever should be aligned with the two reference points on the disc. Push the base plate down onto the disc.
.jpeg)
Step 2
Turn the base plate counter-clockwise until it stops. Rotating the fasteners will help pull the two halves of the splitboard together, allowing the best possible splitboard connection.
.jpeg)
Step 3
Push the lever down to lock the binding in place. You're now ready to strap on and enjoy the ride.
.jpeg)
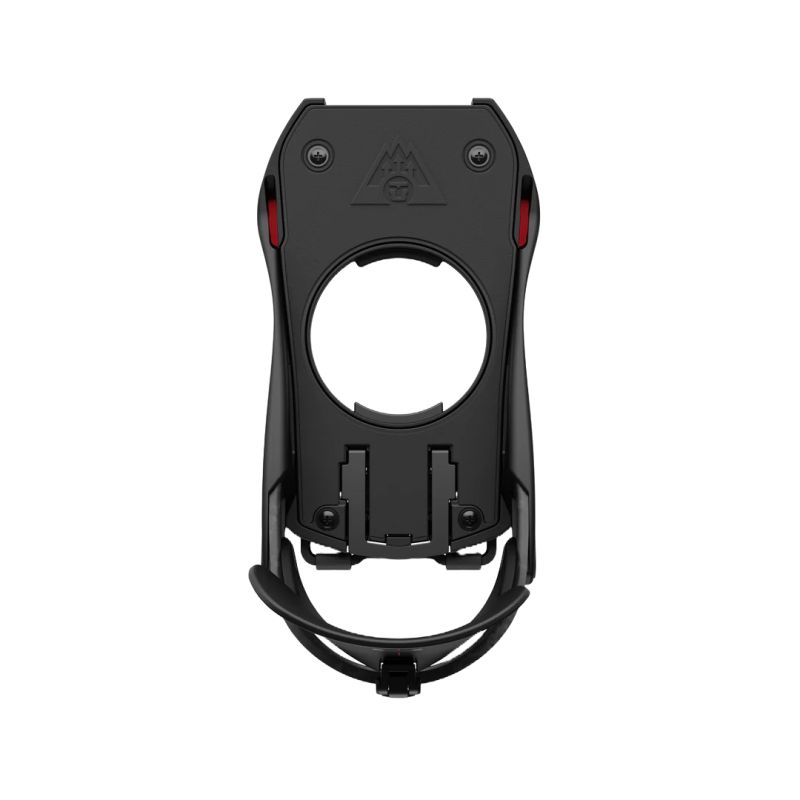
Charger Touring bracket
No more need for pins. The Charger Touring Bracket is the future of Union Binding splitboard technology. Simple, easy to use and incredibly light.
.jpeg)
Step 1
Turn the base plate vertically and align it with the spikes on the bracket.
.jpeg)
Step 2
Slide the base plate inwards until you feel it stop. Make sure you push the base plate all the way in before pushing it in. The baseplate will only release at a 90° angle*.
.jpeg)
Step 3
You're now ready to set off on your ride. To help you on steep climbs, tip the heel elevator under the base plate and lock it firmly in place.
Size Guide
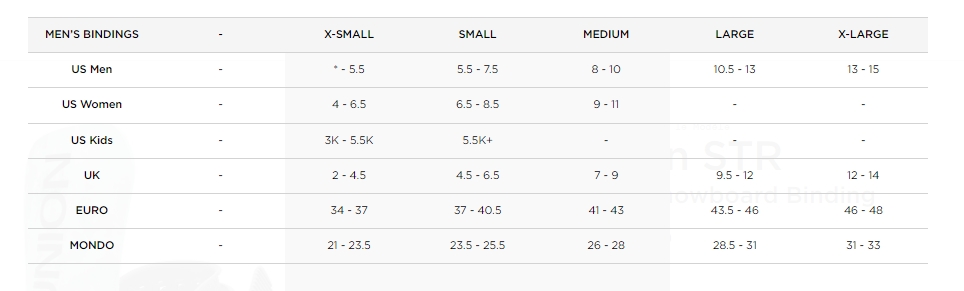
We recommend you
UNION Charger Bindings


 022 791 01 77
 info@technosurf.ch


